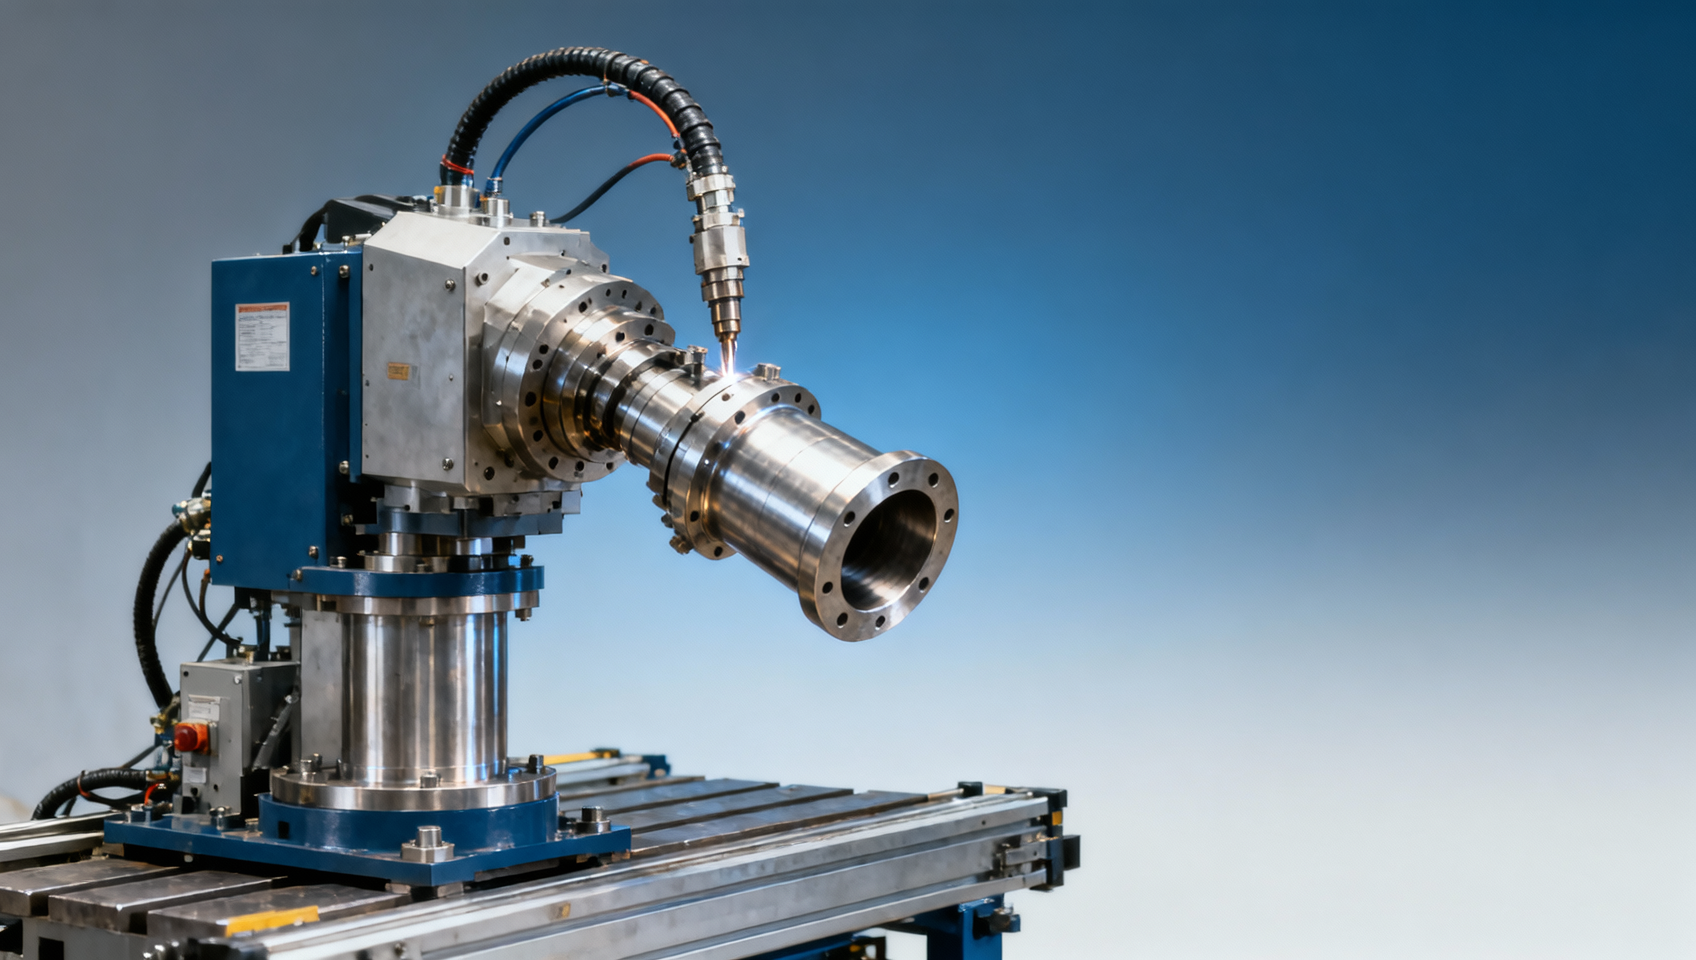
For new welders, achieving clean, consistent welds can be challenging without the right support. Learning How to use a welding positioner for beginners is one of the easiest ways to improve accuracy, control workpiece movement, and reduce positioning errors. With a welding positioner, operators can maintain better angles, steadier hands, and more efficient workflows, making it easier to produce higher-quality results from the very start.
Why does a welding positioner improve accuracy for new users?
A welding positioner helps new users weld more accurately because it reduces one of the biggest beginner problems: inconsistent torch angle and unstable workpiece handling. Instead of forcing the operator to reposition heavy or awkward parts by hand, the machine rotates or tilts the workpiece into a practical welding position. This allows the welder to focus on arc length, travel speed, and bead consistency rather than fighting gravity and body posture at the same time.
In many entry-level welding situations, accuracy loss comes from 3 common causes: poor access to the joint, sudden changes in hand position, and uneven workpiece support. A welding positioner directly addresses all 3. By keeping the joint visible and reachable, it becomes easier to maintain a smoother path. For fillet welds, circumferential welds, and small vessel work, this mechanical control often matters more than operator strength.
For beginners, repeatability is especially important during the first 2–6 months of skill development. During this stage, even small changes in angle can create undercut, overlap, or uneven penetration. A welding positioner creates a more repeatable setup, so the operator sees fewer uncontrolled variables. That does not replace training, but it shortens the gap between practice and acceptable production results.
Another reason accuracy improves is fatigue reduction. When new users weld in awkward positions for 20–40 minutes at a time, hand stability drops quickly. Positioners reduce unnecessary reaching, twisting, and lifting. With less physical strain, the welder can maintain better concentration and steadier movement. In real workshop conditions, that often means fewer restarts, cleaner starts and stops, and less rework on basic parts.
Key ways a positioner supports beginner-level weld control
- It keeps the weld joint in a favorable position, often closer to flat or horizontal welding, which is easier for a new operator to manage than vertical or overhead welding.
- It provides controlled rotation speed, helping the operator maintain more uniform travel on round parts such as pipes, flanges, and tanks.
- It reduces manual repositioning, which lowers the chance of alignment shift between tack welding and final welding.
- It improves visibility of the weld pool and joint line, especially when the part would otherwise block a direct working angle.
What accuracy usually means in practical workshop terms
For most operators, welding accuracy is not only about dimensional tolerance. It also means maintaining a stable bead width, reducing arc wander, keeping a more even root profile, and minimizing post-weld correction. On simple fabricated parts, a positioner may help reduce setup-related errors within the normal workshop tolerance range, especially when handling repeated parts in small or medium batches.
In practice, beginners usually notice improvement first in consistency rather than speed. After that, cycle time often becomes more stable. A new user who struggles with manual turning may take 2–3 repositioning steps per weld section, while a positioner can reduce those interruptions significantly. That smoother process is one of the main reasons the machine becomes valuable early in training and production support.
Which welding tasks benefit most from a welding positioner?
Not every job requires a welding positioner, but several common tasks become much easier when one is used. New users benefit most when the part has a circular weld path, repeated joints, off-center weight, or difficult access. In welding equipment environments, this often includes pipe sections, round flanges, short cylindrical shells, frames with rotating fixtures, and compact assemblies that need controlled tilting.
The best applications are usually jobs where the workpiece weight falls within a manageable range for the chosen machine, such as light-duty to medium-duty parts. Typical workshop configurations may cover small benches for parts under 100 kg and heavier units for several hundred kilograms or more. For a beginner, the critical point is not maximum load alone but how stable the load remains during rotation and how easy the fixture is to align.
Processes such as MIG, TIG, and SAW can all benefit, but the degree of improvement depends on the product type. In TIG welding of thin stainless parts, smooth rotation helps maintain visual control and uniform heat input. In MIG welding of mild steel brackets or pipe connections, a positioner helps maintain a practical torch angle. In repetitive circular seams, the difference in consistency can be obvious even after a few shifts of use.
To make application judgment easier, the table below compares several common beginner-friendly use cases. It is not a strict rule sheet, but it provides a practical way to see when a welding positioner is likely to deliver better accuracy and when a simpler fixture may still be enough.
This comparison shows that the biggest value appears when the weld path is repetitive or difficult to hold manually. If the part changes shape every time and requires only 1 or 2 short tack welds, a dedicated welding positioner may be less critical. But for repeated circular seams, tilt-dependent joints, or operator training setups, the equipment can make accuracy more achievable from day one.
Typical scenarios where beginners struggle without support
- Welding around a pipe where the operator must constantly change body position and loses torch angle control.
- Working on small stainless assemblies where sudden hand movement creates visible bead irregularity.
- Handling medium-weight parts that are too heavy to turn safely by hand but too small for large manipulators.
- Producing repeated parts in batches of 10–50 pieces, where setup consistency affects productivity and rework rate.
How to choose the right welding positioner for beginners
Choosing a welding positioner for new users should start with application fit, not just price. Buyers often compare load capacity first, but that is only 1 of several important factors. For beginner-friendly operation, 5 core checks matter most: load rating, table size, tilt range, rotation speed control, and fixture compatibility. If any of these do not match the actual workpiece, accuracy gains may be limited.
Load capacity should be evaluated with a safety margin rather than by exact part weight alone. In workshop practice, fixture weight, off-center loading, and dynamic movement all influence the real demand on the machine. Many users aim to keep the actual working load below the maximum rated load to maintain smooth rotation and stable tilt performance. This is especially important when the workpiece center of gravity does not sit close to the table center.
Speed control is another major factor. For beginners, variable rotation speed is usually more useful than a fixed-speed unit. Different weld processes and diameters need different pacing. A small TIG part may require slow, precise movement, while a larger MIG weld on a circular seam may need a different speed window. Smooth low-speed operation is often more valuable than high top-end speed in training and general fabrication tasks.
Ease of setup also matters. A machine that saves 10–15 minutes in fixture alignment on every repeat job can create real production value. Controls should be intuitive, foot pedal options should be considered where needed, and the table should support practical clamping. New users do better when the positioner is simple to understand, predictable in motion, and matched to the size of their daily workpieces.
A practical selection table for operators and buyers
The table below summarizes key selection points that influence both welding accuracy and beginner usability. It is useful during quotation comparison, internal purchasing review, or workshop planning when several welding positioner options are being evaluated.
A good purchasing decision should also consider future use. If the workshop plans to train several operators over the next 6–12 months or expects repeat jobs in small and medium batches, choosing a slightly more versatile positioner can be more practical than buying the lowest-cost model. The most suitable unit is usually the one that matches current parts while still leaving room for fixture and process variation.
Simple buyer checklist before ordering
- Confirm the heaviest part weight, including fixture, and note whether the load is centered or off-center.
- List the main weld types, such as circular seam, fillet weld, or angled joint, and identify the required tilt range.
- Check whether the operator needs foot control, variable speed, or synchronized operation with other welding equipment.
- Ask about lead time, spare parts, voltage compatibility, and whether installation guidance is available within the planned delivery window.
What mistakes should beginners avoid when using a welding positioner?
A welding positioner can improve accuracy, but only when it is set up correctly. One common mistake is assuming that the machine alone guarantees better welds. In reality, poor clamping, incorrect speed, or bad part balance can still produce uneven seams. New users should treat the positioner as a control tool, not an automatic quality guarantee. Basic welding technique and setup discipline still matter on every job.
Another frequent problem is overloading or poorly balancing the part. Even if the total weight seems within the rated range, an off-center workpiece can create unstable movement. This affects not only safety but also weld consistency. If the part wobbles during rotation, the arc distance changes and bead uniformity suffers. For beginner operators, balance checking before arc start is one of the most important pre-weld steps.
Incorrect speed matching is also common. If rotation is too fast, the operator may lose control of torch position and filler timing. If it is too slow, heat input may build unevenly around the joint. Beginners often improve faster when they test rotation speed on scrap material for 3–5 minutes before running production parts. That short preparation step can prevent avoidable rework on the final piece.
Maintenance neglect is another issue. A positioner used daily should be checked regularly for table fastening, electrical controls, grounding path, and unusual vibration. Depending on usage frequency, a simple inspection every week and a more complete review every month can reduce unexpected downtime. For training environments, clear operator instructions should be posted so each shift follows the same startup and shutdown routine.
Common misconceptions about welding positioners
- “Any load under the rated maximum is safe.” In fact, offset load and fixture geometry matter as much as weight.
- “Higher rotation speed means higher productivity.” For many beginner welding tasks, smooth control at low speed is more useful than speed alone.
- “A welding positioner replaces fixturing.” It does not. Proper clamps, chucks, and support points are still essential.
- “Only large factories need one.” Small shops handling repeated round parts or training new operators can also gain clear value.
Basic implementation advice for a smoother start
A practical implementation plan often works better than immediate full-speed production use. During the first 1–2 weeks, operators can begin with simple parts, centered loads, and short weld runs. This helps them understand rotation behavior and foot or panel control response. After that, they can move to more complex seams and heavier parts. This staged approach reduces training risk and improves confidence with the equipment.
Where welding procedures are controlled, users should also review whether the position change affects technique variables. In some cases, travel angle, wire presentation, or shielding coverage may need adjustment when welding in a new orientation. The positioner improves access, but the operator still needs to match machine motion with process control for the best results.
FAQ and next-step guidance for buyers, operators, and workshop planners
Is a welding positioner suitable for very small workshops?
Yes, if the workshop handles repeated parts, circular welds, or operator training. A small workshop does not need high-capacity automation to benefit. Even a compact welding positioner can improve part handling and weld consistency when batch sizes are modest, such as 5–20 repeat pieces per run. The key is selecting a model that matches available floor space, part weight, and actual production frequency.
How long does it take a beginner to learn basic positioner operation?
For basic control functions, many operators can understand the essentials within a few hours of guided use. However, using a welding positioner effectively for accuracy usually takes several practice sessions across different parts. A short training plan covering setup, balance check, speed adjustment, and safe rotation during the first 3–5 operating days is often enough to build reliable habits.
What should buyers ask suppliers before placing an order?
Ask about rated load under centered and offset conditions, available tilt range, speed control method, voltage compatibility, lead time, spare parts support, and fixture options. It is also useful to confirm whether the supplier can review workpiece drawings or photos before quotation. This helps reduce sizing mistakes and improves the chance that the welding positioner will actually support beginner accuracy instead of creating setup difficulties.
Can a welding positioner reduce rework costs?
It can, especially where rework is caused by poor access, unstable handling, or inconsistent circular travel. The actual savings depend on part type, operator skill, and existing fixture quality, so there is no universal number. Still, in many fabrication settings, fewer stops, fewer awkward weld positions, and more repeatable bead paths can reduce avoidable corrections and improve workflow stability over time.
Why choose us for welding positioner consultation and solution support?
If you are comparing welding positioner options for new users, we can help you evaluate the practical details that affect real welding accuracy. You can consult us on part weight range, fixture method, tilt and rotation requirements, power configuration, delivery timing, and whether a standard or adjusted solution is more suitable for your workshop. This is especially useful when operators are still learning and need equipment that is stable, clear to use, and realistic for daily production.
You can also contact us to discuss product selection, application matching, sample workpiece review, quotation planning, and expected lead time. If your concern involves beginner training, repeated circular welds, compact fabrication, or limited budget, we can help narrow the options step by step. A clear selection process now can save weeks of trial and reduce the risk of buying a welding positioner that does not fit your actual parts or operator needs.
Leave A Message
If you are interested in our products and want to know more details, please leave a message here, we will reply you as soon as we can.